Data Recording Page
Menu Bar

In the menu bar (top) you can select the different options (from left to right):
- Connect to G-Proof (only available if enabled in settings)
- Frame Up (only available if enabled in settings)
- Frame Step Up (only available if enabled in settings)
- Rotate Frame (only available if enabled in settings)
- Frame Stop Down (only available if enabled in settings)
- Frame Down (only available if enabled in settings)
- Login
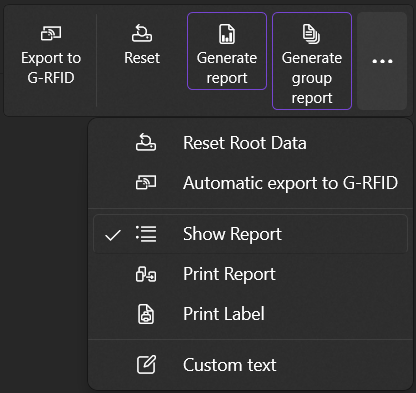
In the menu bar (main) you can select the different options (from left to right):
- Export to G-RFID (only available if enabled in settings)
- Reset (resetting the data)
- Generate report
- Generate group report (only visible if
Order Numberis set) - Reset Root Data (after creating the report, the data in Root Data is reset)
- Automatic export to G-RFID (after creating the report)
- Show Report (after creating the report)
- Print Report
- Print Label
- Custom text (extra field is displayed to specify a custom text)
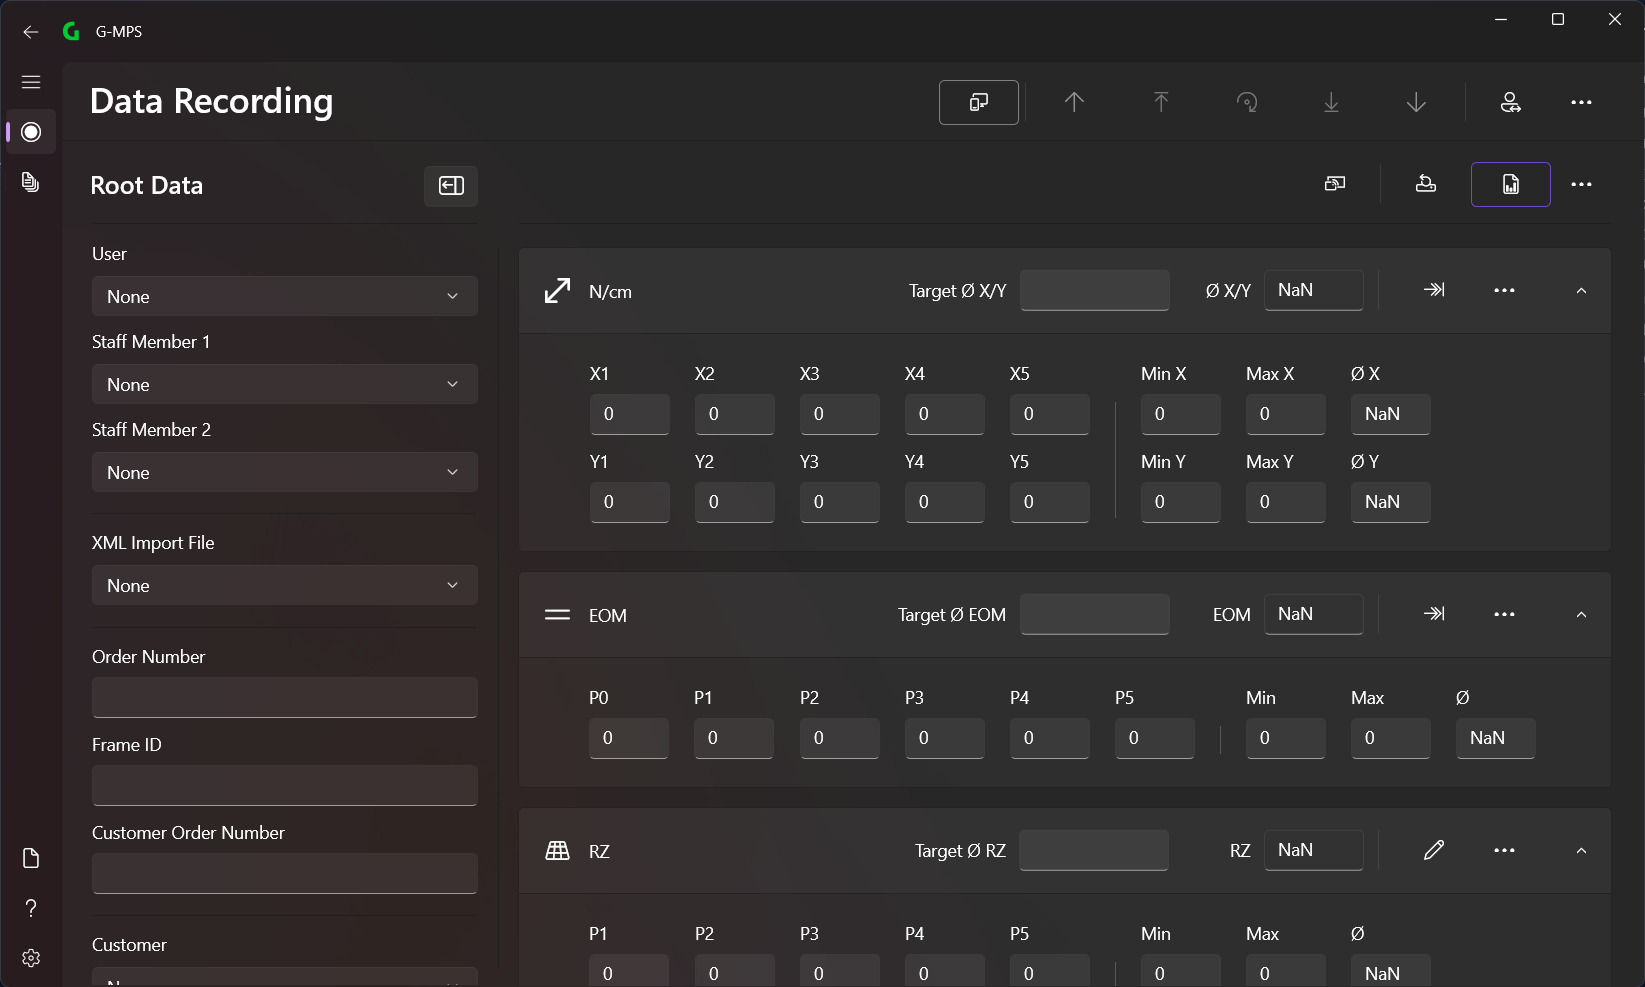
Root Data
All elements defined here can be displayed in the report.
Users
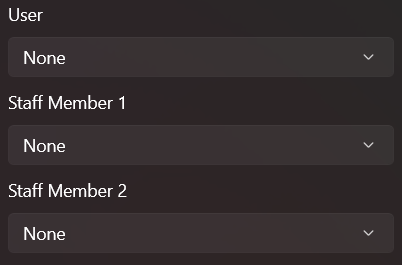
The individual users can be defined here.
XML Import File
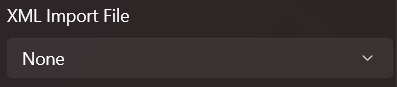
With this selection you can select the XML import file. All files in the XML import path are displayed. More information can be found here.
Order and FrameID
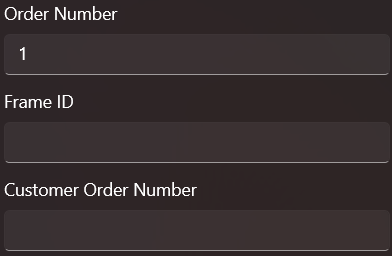
Order Number, Frame ID and Customer Order Number can be defined here.
Order Number is set, a Group Report can be generated which creates a report with all reports that have the same Order Number.Customer, Frame and Mesh
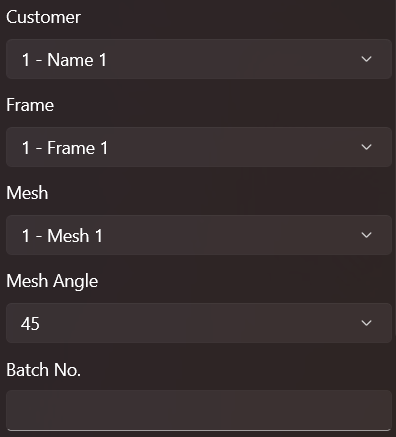
Here you can select Customer, Frame and Mesh.
If a Mesh is selected, you can also set Mesh Angle and Batch No..
Devices
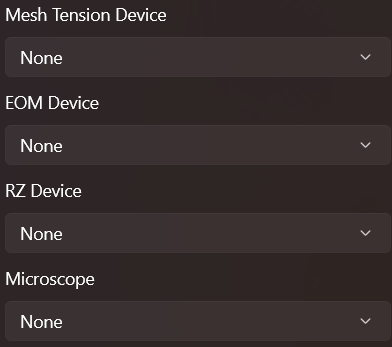
Here you can select all devices that were defined in the settings.
Measurement
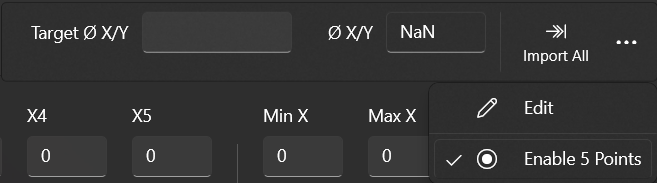
Each measurement type has its own manual bar. In this you can select whether you want to carry out a 5-point measurement or just one point.
If an automatic measuring device has been selected in the settings, the Import All button is available, which you can use to carry out an automatic measurement. If you only want to edit fields, you must click on the Edit button.
You can also enter a target value in the Target Ø X/Y field, which can then also be displayed in the report.
N/cm
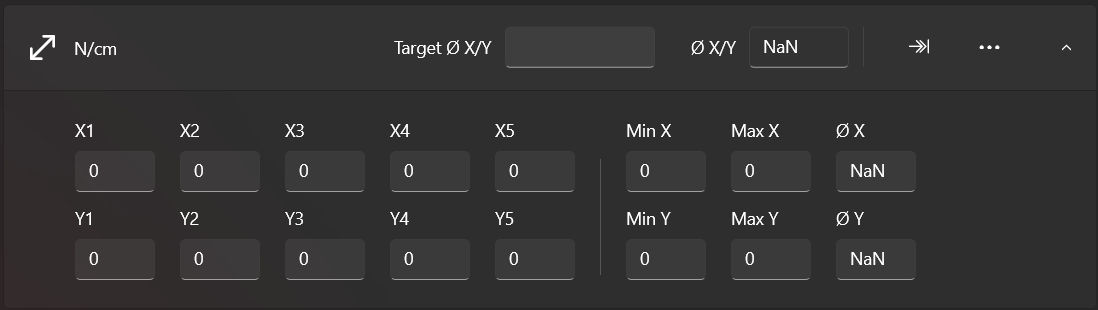
A tension measurement can be taken here.
EOM
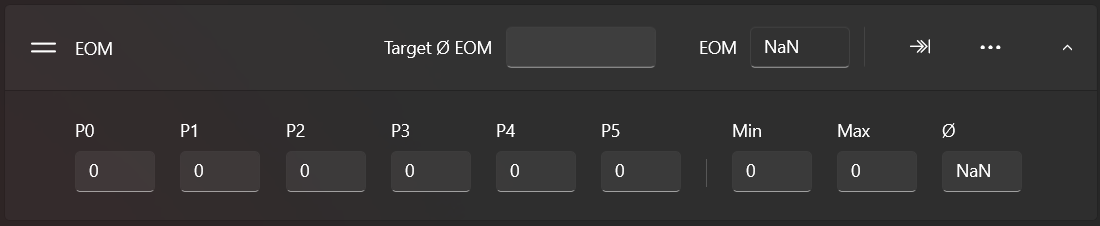
An emulsion over mesh (EOM) measurement can be taken here.
RZ
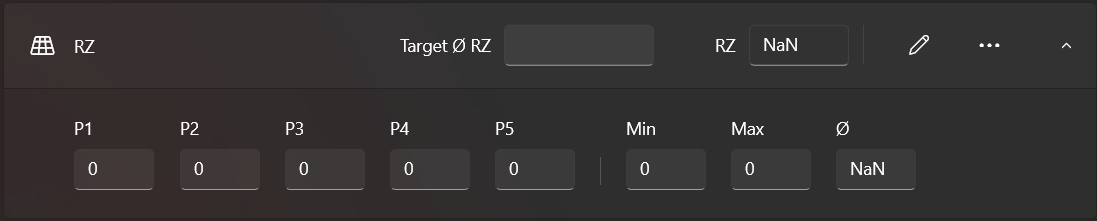
A roughness (RZ) measurement can be taken here.
Picture
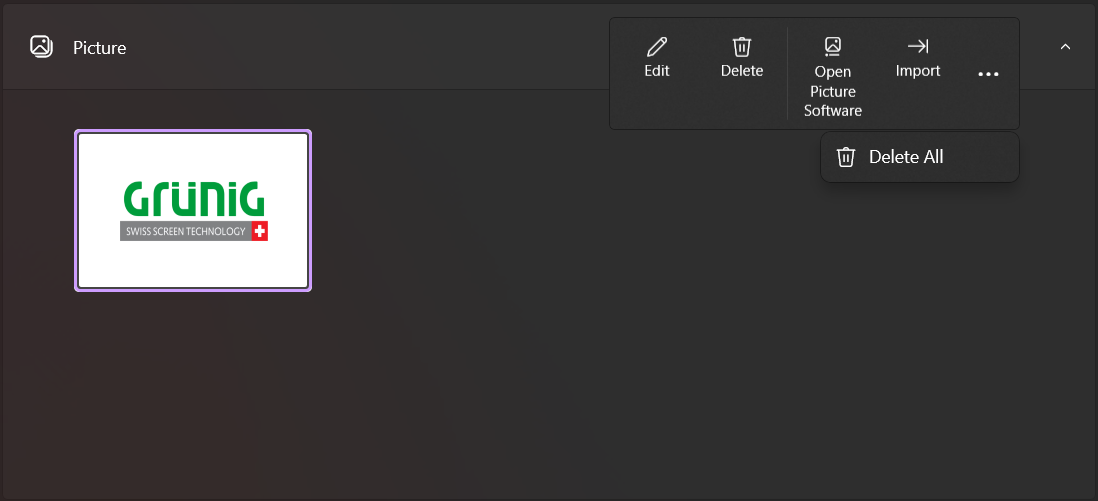
If you want to include pictures in the report, you can add them to the folder G_DATA\PictureImport and use the Import button to import them into the application.
You can also edit and delete the pictures from here.
In the settings, you can specify a path to the picture software that is used to take pictures. This software can then be opened using the Open Picture Software button.